Are you curious about sourdough?
Have you wanted to make your own starter? Or maybe bake your own bread?
We love sourdough in our house. Sourdough everything that is. And we have been your guinea pigs. In the last few weeks we have had sourdough waffles, bread, rolls, tortillas, English muffins, pizza…. We have yet to try cookies and cake, but it’s about to happen real soon.
First, let’s get that starter made so you can join me!
In order to make any sourdough recipe, you must first have a sourdough starter.
This takes time and some rather precise efforts at first, but it is so worth it when you eat that first sourdough fare.
To be honest, most of the recipes use basically the same idea. Some say to use whole wheat in the beginning starter because there is more ‘wild yeast’ in whole wheat flour than is in all purpose flour. Some use all purpose flour from the beginning and add whole wheat or rye for recipes specific to those flours. I started mine with whole wheat flour the first time and have used all purpose flour to feed it since.
Really… I say don’t over-complicate things.
In other words, if you only have all purpose flour, use it.
The basic idea is to start with ‘equal’ parts of flour and water. Now… that’s by weight. Which is roughly 1/2 cup water to a scant 1 cup flour. To be real precise, it’s about 3/4 cup +2 Tbsp flour.
I also suggest using a mixing bowl vs. a cute jar you’ll be storing your starter in for the first 5 days until you no longer have to add and subtract to and from your starter everyday. Only because it’s easier and much less mess.
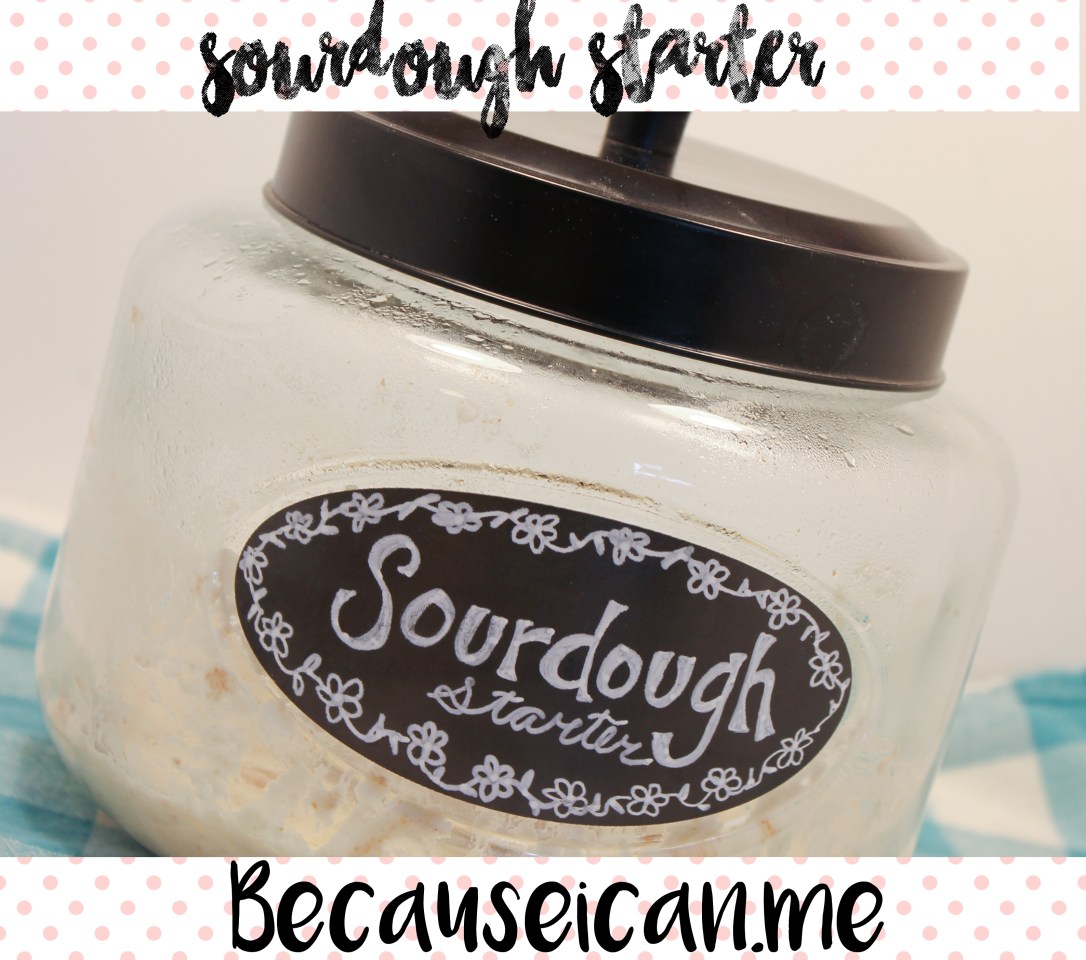
Once your starter is ready to just sit, ferment and wait for you to use it, I suggest using a jar like this. They look nice and also keep the mess (and smell) to a minimum. A crock is also super cute and works well. It just has to be covered with plastic wrap. It’s all personal preference.
Personally, the most difficult part of starting and maintaining a good sourdough starter is the waste. Every time when you add to it, you must first discard some starter. It feels like such a waste and if you’re frugal like me then you find recipes to use the ‘discard’ starter as well. You won’t get a real sour taste, but you will get the satisfaction of using it instead of throwing it away.
I’m going to make this as easy as possible for you. I’ll write it out day by day of how to start and maintain your starter.
Do not let this overwhelm you.
I promise it’s all worth it.
Sourdough Starter
Ingredients:
To begin your starter:
- 3/4 cup + 2 Tbsp whole wheat or all purpose flour
- 1/2 cup water (cool if your house is warm, warm if your house is cool)
Directions:
- Day 1: Combine the flour and water in a non-reactive container… You can use glass, crockery, stainless steel, or food-grade plastic. Stir thoroughly; make sure there is no dry flour anywhere. It’s important to mix well. Cover the container loosely and let the mix sit somewhere warm. If your house is cold, place on top of the fridge or by a heater. Let sit, undisturbed for 24 hours. (I used whole wheat flour my first time. If it’s a little doughy or thick, don’t be alarmed. It’ll be okay.)
- Day 2: Don’t panic if you didn’t see any activity in the first 24 hours. Go ahead and discard half the starter, about 1/2 cup. Now add 3/4 cup + 2 Tbsp flour and 1/2 cup water (cool if your house is warm, warm if your house is cool). Stir well. Cover loosely and store for another 24 hours.
- Day 3: You should be seeing at least a small amount of activity by now. Some bubbles, a little bit of an aroma and maybe some rising. So, you’re going to start feeding your starter twice today. (I did them 12 hours apart, but do what works for your schedule). For each feeding, first stir down thoroughly. Measure out 1/2 cup starter. Discard the remaining starter. Add 3/4 cup + 2 Tbsp flour and 1/2 cup water to the 1/2 cup starter. Mix well, cover loosely and sit in warm place. Repeat in 12 hours.
- Day 4: Two feedings again today!! For each one, measure and set aside 1/2 cup starter. Discard remaining starter and add 3/4 cup + 2 Tbsp flour and 1/2 cup water to starter. Stir well, cover loosely and place somewhere warm for 12 hours until next feeding.
- Day 5: Two feedings again today!! You should be seeing a LOT of bubbles now and the aroma should be a tad “tangy”, but shouldn’t be overpowering. You’ll also notice that your starter is close to double in volume. For each feeding you are going to need to set aside 1/2 cup starter. Discard remaining starter. Add 3/4 cup + 2 Tbsp flour and 1/2 cup water to the 1/2 cup starter. Mix well, cover loosely and sit in a warm place. Repeat again in 12 hours.
- Day 6: Give your starter a feeding in the morning. Same as always… discard all but 1/2 cup starter. Add 3/4 cup+ 2 Tbsp flour and 1/2 cup water to your starter. Stir well, cover loosely and store in a warm place. There should be a lot of action in 12 hours from now.
- Check your starter in 12 hours from final feeding and place in your storage jar. Cover. Place in fridge or on your counter if your house is cooler like mine.
- Once you’re ready to start baking, remove however much starter you need for your recipe. You shouldn’t take any more than 1 cup.
- Remember to feed your starter after you take some from it. The same 3/4 cup + 2 Tbsp flour and 1/2 cup water.
- Store the starter in the fridge (on the counter if your house is cool). Feed it regularly at least once a week to keep in maintained.
Much love,
Teauna

1 thought on “Sourdough Bread: Starter”